How to Create Custom Labels for Your knitting Projects: Tips and Tricks for Making Professional-Looking Labels for Your Handmade Creations
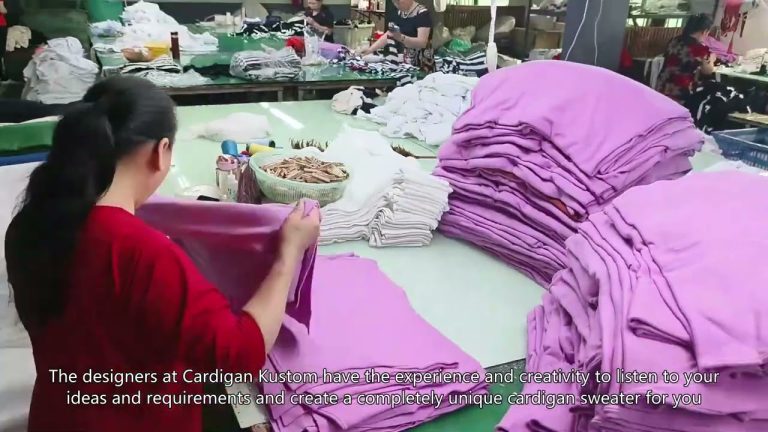
Creating custom labels for your knitting projects is a great way to add a professional touch to your handmade creations. Not only do they look great, but they also help you keep track of your projects and make them easier to identify. Here are some tips and tricks for making professional-looking labels for your knitting projects. 1. Choose the right materials. You’ll want to use materials that are durable and won’t fade or tear easily. Consider using fabric labels, which can be printed with your own design or purchased pre-made. You can also use iron-on labels or sew-on labels. 2. Design your label. Think about what information you want to include on your label. You may want to include your name, the name of the project, the date it was completed, and any other relevant information. You can also add a logo or design to make your label more unique. 3. Print or sew your label. If you’re using fabric labels, you can print them using an inkjet printer. If you’re using iron-on or sew-on labels, you’ll need to attach them to your project using a sewing machine or by hand.
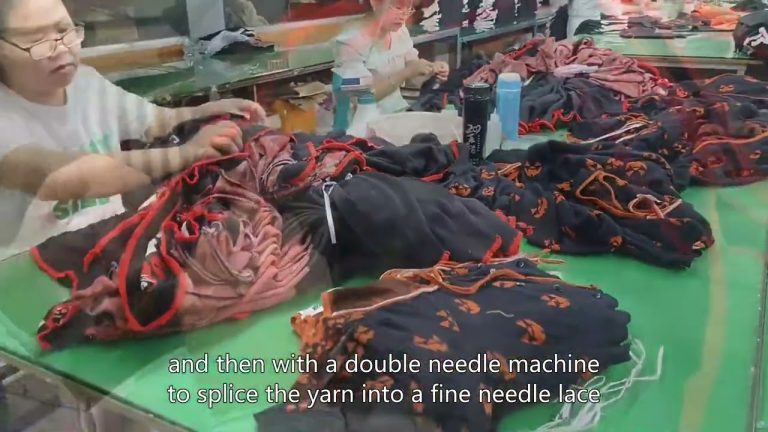
Creating custom labels for your knitting projects is a great way to add a professional touch to your handmade creations. With these tips and tricks, you’ll be able to make professional-looking labels that will help you keep track of your projects and make them easier to identify.