How to Create a Custom Cat knit sweater: A Step-by-Step Guide for Beginners
“Hey there, cat lover! Are you ready to make a custom knit sweater for your furry friend? It’s a fun and rewarding project that will make your cat look and feel extra special. Let’s get started!
Step 1: Gather Your Supplies
You’ll need a few basic supplies to get started. You’ll need some yarn, a pair of knitting needles, a measuring tape, and a pair of scissors.
Step 2: Measure Your Cat
Before you start knitting, you’ll need to measure your cat. Measure around the widest part of your cat’s chest and add an extra inch for ease. This will be the width of your sweater.
Step 3: Choose Your Yarn
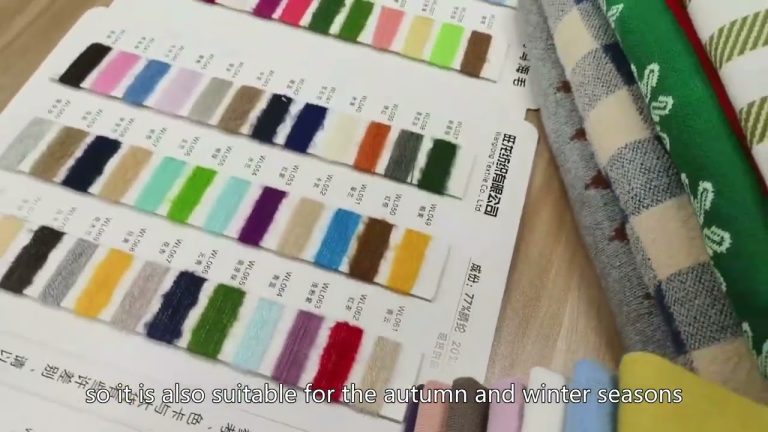
Now it’s time to choose your yarn. Look for a yarn that is soft and comfortable for your cat. You’ll also want to make sure it’s easy to care for.
Step 4: Cast On
Now it’s time to start knitting! Cast on the number of stitches you need for the width of your sweater.
Step 5: Knit the Body
Knit the body of the sweater in stockinette stitch. This is a simple stitch that creates a smooth, even fabric.
Step 6: Shape the Neck
Once you’ve finished knitting the body of the sweater, it’s time to shape the neck. To do this, you’ll need to decrease the number of stitches on each side of the neck.
Step 7: Knit the Sleeves
Now it’s time to knit the sleeves. Start by casting on the number of stitches you need for the width of the sleeve. Then, knit in stockinette stitch until the sleeve is the desired length.
Step 8: Sew the Seams
Once you’ve finished knitting the sweater, it’s time to sew the seams. Use a yarn needle to sew the seams together.
Step 9: Add the Finishing Touches
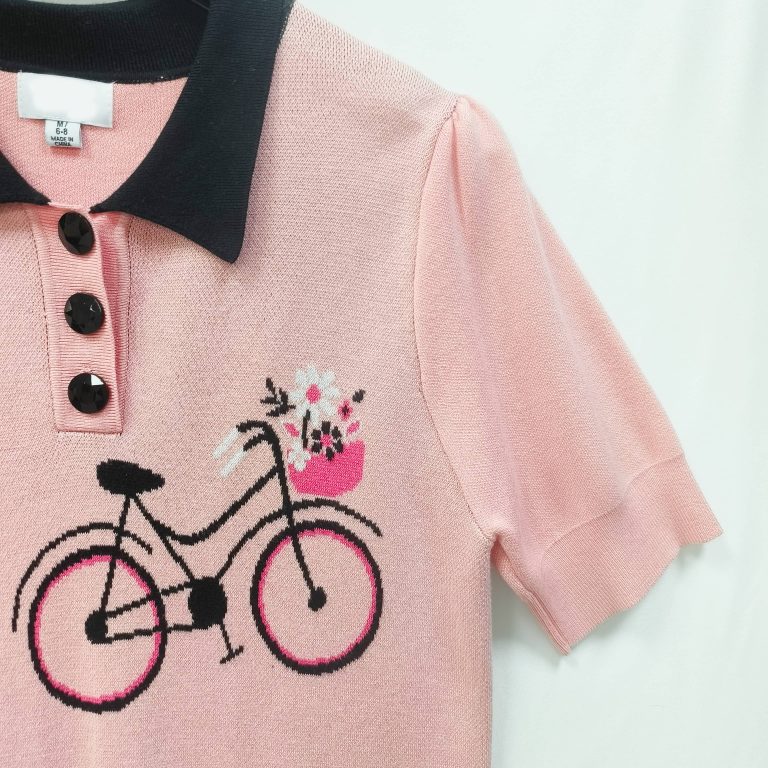
Casual clothing
High-end clothing
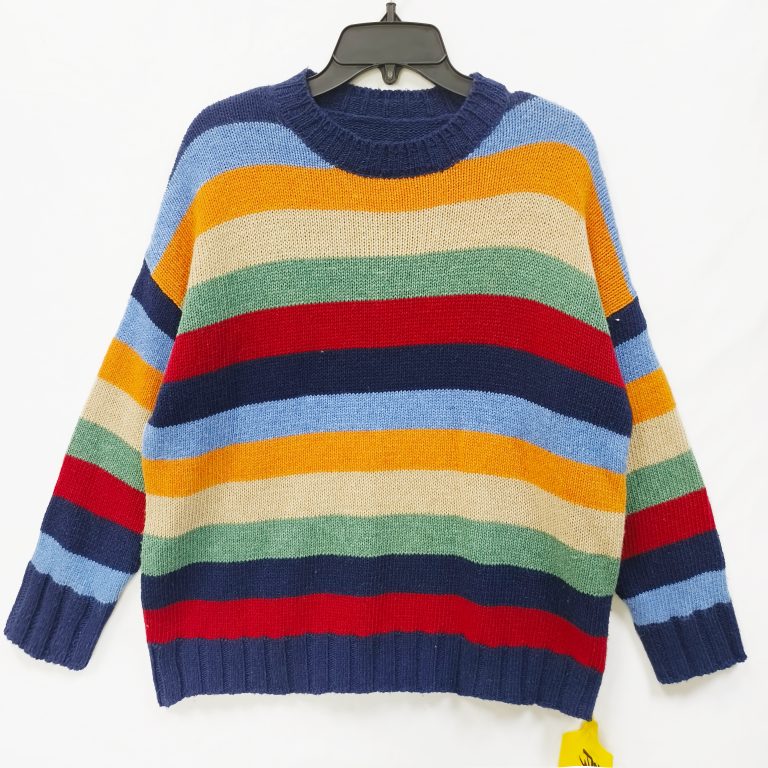
multicolor
Solid color clothing
Warm clothing
Now it’s time to add the finishing touches. You can add buttons, ribbons, or other decorations to make your sweater unique.
And there you have it! You’ve just created a custom knit sweater for your cat. Congratulations! Now your cat can look and feel extra special. Enjoy!”

 Step 5: Knit the Body